




How to troubleshoot a pure sine wave power inverter?
 Oct 29, 2025|
Troubleshooting a pure sine wave power inverter can be a daunting task, especially if you're not familiar with the inner workings of these devices. As a supplier of Top-quality Pure Sine Power Inverters, True Sine Inverters, and High Efficiency Pure Sine Wave Inverter, I've encountered various issues with these inverters over the years. In this blog post, I'll share some common problems and their solutions to help you get your inverter up and running smoothly.
Understanding Pure Sine Wave Power Inverters
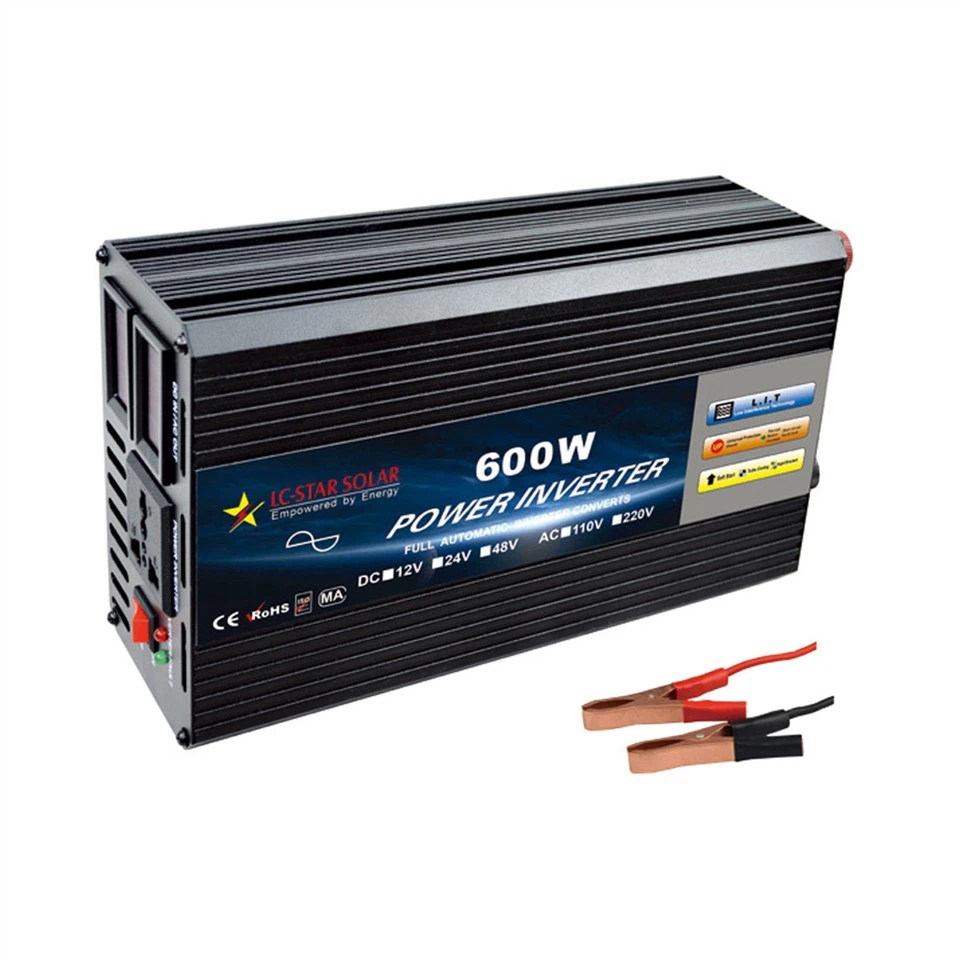
Before we dive into troubleshooting, let's briefly understand what a pure sine wave power inverter is and how it works. A pure sine wave inverter converts direct current (DC) from a battery or other DC source into alternating current (AC) with a smooth, sinusoidal waveform. This type of inverter is preferred for sensitive electronic devices such as laptops, televisions, and medical equipment because it provides a clean and stable power supply, similar to the power grid.
Common Problems and Solutions
1. Inverter Does Not Turn On
- Check the Power Source: The first thing to check is the power source. Make sure the battery is properly connected and has enough charge. Use a multimeter to measure the battery voltage. A fully charged 12-volt battery should read around 12.6 to 12.8 volts. If the voltage is too low, charge the battery or replace it if necessary.
- Inspect the Fuses: Inverters are usually equipped with fuses to protect them from overcurrent. Check the fuses to see if they are blown. If a fuse is blown, replace it with a fuse of the same rating.
- Verify the On/Off Switch: Ensure that the inverter's on/off switch is in the "on" position. Sometimes, the switch may be accidentally turned off or damaged.
2. Inverter Turns Off Automatically
- Overloading: One of the most common reasons for an inverter to turn off automatically is overloading. Check the power rating of the inverter and make sure the total power consumption of the connected devices does not exceed the inverter's capacity. Unplug any unnecessary devices to reduce the load.
- Overheating: Inverters generate heat during operation, and if they get too hot, they may shut down to prevent damage. Make sure the inverter is installed in a well-ventilated area and that there is no obstruction around the cooling vents. You can also use a fan to improve the ventilation.
- Low Battery Voltage: If the battery voltage drops too low, the inverter may shut off to protect the battery. Check the battery voltage and charge it if necessary. Consider using a larger battery or a battery charger to maintain a stable voltage.
3. Inverter Produces a Buzzing or Humming Noise
- Loose Connections: A buzzing or humming noise can be caused by loose electrical connections. Check all the connections, including the battery terminals, AC output cables, and internal wiring. Tighten any loose connections to eliminate the noise.
- Electromagnetic Interference (EMI): Some electronic devices may generate electromagnetic interference that can cause the inverter to produce a noise. Try moving the inverter away from other electronic devices or using shielded cables to reduce the interference.
- Faulty Components: In some cases, a buzzing or humming noise may indicate a faulty component inside the inverter. If you suspect a component failure, it's best to contact a professional technician for repair.
4. Inverter Output Voltage is Incorrect
- Calibration Issues: Some inverters allow you to calibrate the output voltage. Check the inverter's user manual to see if there are any calibration procedures. Follow the instructions carefully to adjust the output voltage to the correct level.
- Faulty Voltage Regulator: If the output voltage is consistently incorrect, there may be a problem with the voltage regulator. This is a more complex issue that requires technical expertise. Contact the manufacturer or a qualified technician for further diagnosis and repair.
5. Inverter Does Not Provide Enough Power
- Underpowered Inverter: If the inverter is not providing enough power, it may be because it is undersized for the connected devices. Calculate the total power consumption of your devices and choose an inverter with a higher power rating.
- Battery Capacity: The battery capacity can also affect the inverter's performance. If the battery does not have enough capacity to supply the required power, the inverter may not be able to operate at full capacity. Consider using a larger battery or multiple batteries connected in parallel.
Advanced Troubleshooting
If the above solutions do not solve the problem, you may need to perform some advanced troubleshooting steps. However, these steps require technical knowledge and should be done with caution.
1. Check the Inverter's Internal Components
- Inspect the Capacitors: Capacitors are common components that can fail in an inverter. Look for any signs of bulging, leaking, or overheating capacitors. If you find a faulty capacitor, replace it with a capacitor of the same specifications.
- Test the Power Mosfets: Power Mosfets are used to switch the DC power to AC. Use a multimeter to test the Mosfets for continuity and proper operation. If a Mosfet is faulty, it will need to be replaced.
2. Use a Diagnostic Tool
- Inverter Diagnostic Software: Some inverters come with diagnostic software that can help you troubleshoot the inverter. Connect the inverter to a computer using a USB cable and run the diagnostic software to check for error codes and other diagnostic information.
- Oscilloscope: An oscilloscope is a more advanced tool that can be used to analyze the inverter's output waveform. This can help you identify any irregularities in the waveform and diagnose problems with the inverter's circuitry.
Preventive Maintenance
To avoid future problems with your inverter, it's important to perform regular preventive maintenance. Here are some tips:
- Keep the Inverter Clean: Dust and dirt can accumulate inside the inverter and cause overheating. Use a soft brush or compressed air to clean the inverter's cooling vents and internal components regularly.
- Check the Battery Regularly: Monitor the battery voltage and charge it as needed. Replace the battery every few years to ensure optimal performance.
- Follow the Manufacturer's Instructions: Read the inverter's user manual carefully and follow the manufacturer's instructions for installation, operation, and maintenance.
Conclusion
Troubleshooting a pure sine wave power inverter can be a challenging but rewarding task. By following the steps outlined in this blog post, you should be able to identify and solve most common problems. However, if you're still having trouble or if you're not comfortable performing the troubleshooting yourself, don't hesitate to contact a professional technician or the manufacturer for assistance.
If you're in the market for a high-quality pure sine wave power inverter, we offer a wide range of Top-quality Pure Sine Power Inverters, True Sine Inverters, and High Efficiency Pure Sine Wave Inverter. Our inverters are designed to provide reliable and clean power for your electronic devices. Contact us today to discuss your specific requirements and get a quote.

References
- "Pure Sine Wave Inverters: What You Need to Know." Solar Power World, https://solarpowerworldonline.com/2016/08/pure-sine-wave-inverters-what-you-need-to-know/.
- "Troubleshooting Inverters." Renogy, https://www.renogy.com/troubleshooting-inverters/.
- "How to Troubleshoot a Power Inverter." The Spruce, https://www.thespruce.com/how-to-troubleshoot-a-power-inverter-1152678.