





How to Properly Install a Pure Sine Wave Inverter?
 Feb 14, 2025|
 A pure sine wave inverter is a vital component of many solar power systems, providing clean and stable power to your household appliances. Proper installation of the inverter is critical to ensure safety, efficiency, and the long-term durability of your solar energy setup. This article will walk you through the essential steps for correctly installing a pure sine wave inverter, from assessing power requirements to performing post-installation checks.
Why Choose a Pure Sine Wave Inverter?
Before diving into the installation process, it's important to understand the advantages of a pure sine wave inverter. Unlike modified sine wave inverters, which produce a less stable and rougher waveform, a pure sine wave inverter generates a smooth, clean output that is identical to the power provided by your utility grid. This type of power is ideal for sensitive electronics such as computers, medical equipment, and high-end appliances, ensuring they operate at their full potential without the risk of damage. Additionally, pure sine wave inverters are more efficient and quieter, making them the preferred choice for most renewable energy systems.
Pre-Installation Considerations

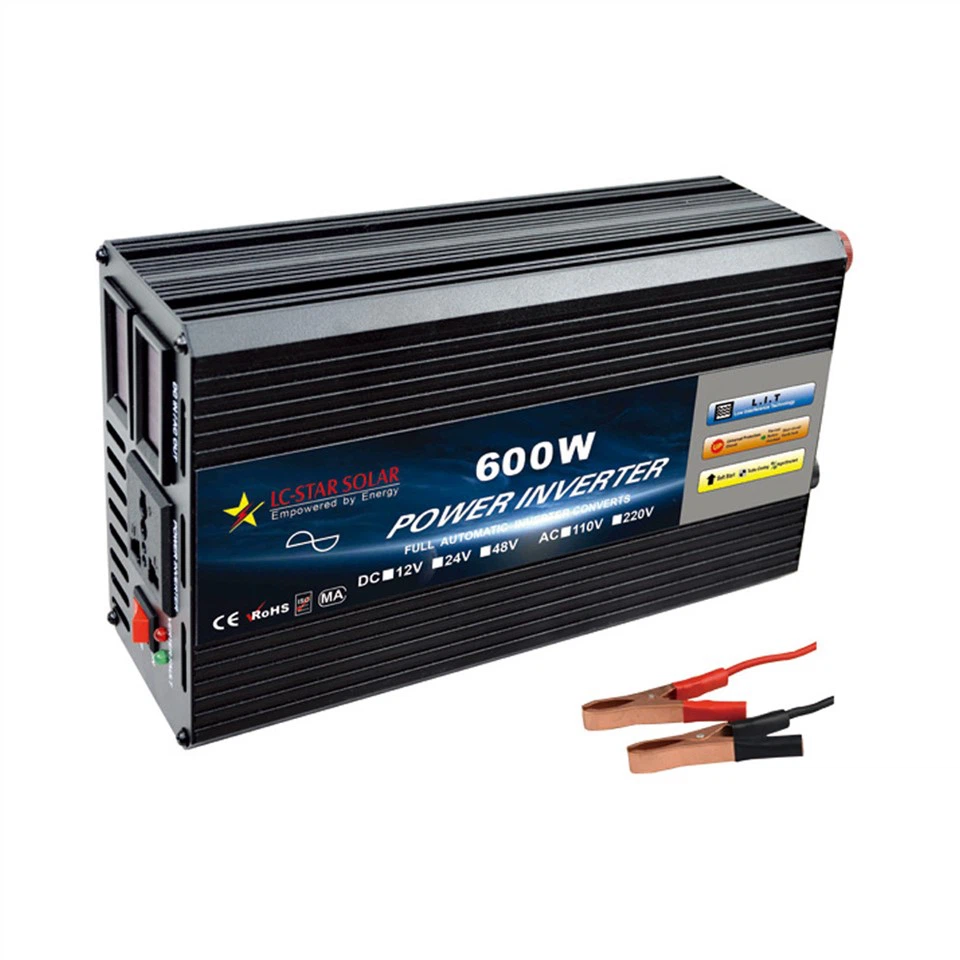

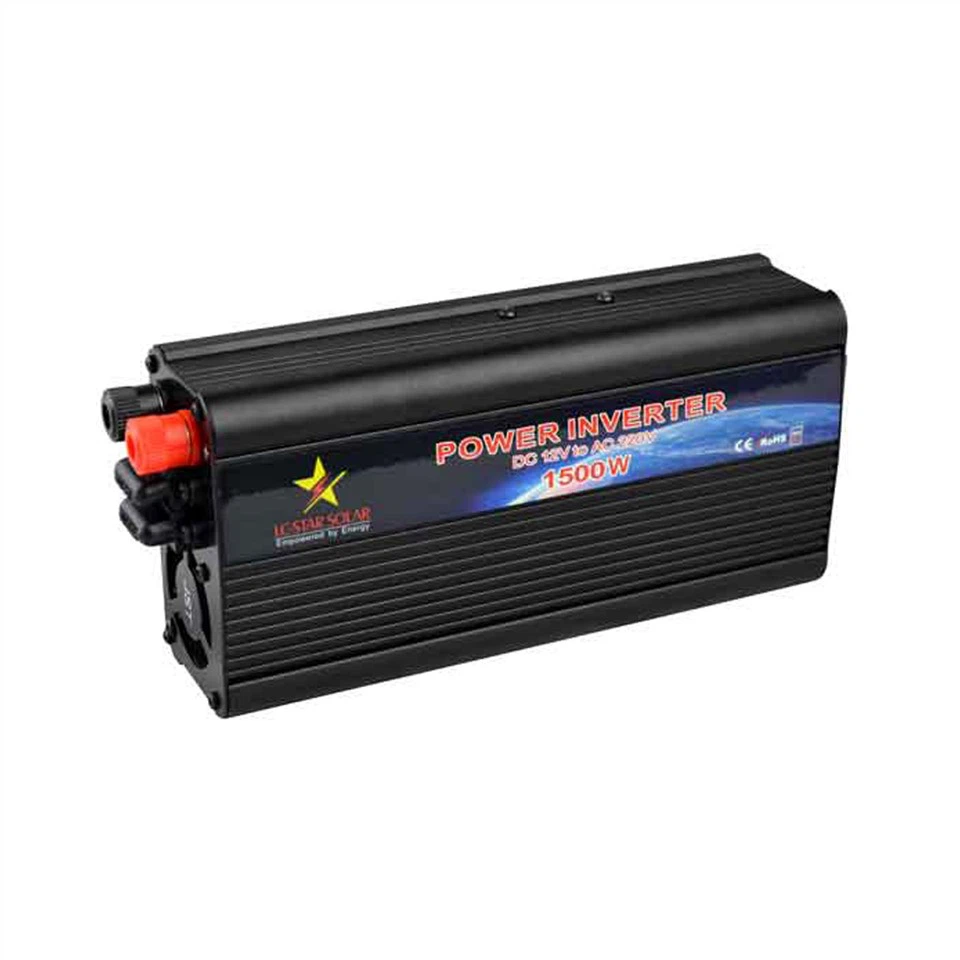
1. Assessing Power Requirements
The first step before installing a pure sine wave inverter is to evaluate your energy needs. A properly sized inverter is crucial to prevent overloads and ensure optimal performance. The inverter's capacity is typically measured in watts (W), and it should be able to handle the combined wattage of all the devices you intend to power.
To calculate your power requirements, list all the devices that you plan to run simultaneously. Add their individual power ratings to determine the total wattage. For example, if you plan to run a refrigerator (300W), lights (50W each), and a TV (150W), your total load would be 500W. To avoid overloading the inverter, it's advisable to choose a unit with a capacity of 20-30% higher than your total power needs.
If you intend to expand your solar setup or add additional appliances in the future, choose a slightly larger inverter capacity to accommodate future growth.
2. Site Selection
Choosing the correct location for installing your pure sine wave inverter is an essential part of the installation process. The inverter should be placed in a dry, cool, and well-ventilated area to prevent overheating and ensure safe operation. Avoid placing it in direct sunlight, as this can cause excessive heat buildup, which may lead to malfunctions. Ideally, the inverter should be mounted on a wall or placed on a flat surface that is both easily accessible and safe from potential hazards.
Additionally, make sure there is enough space around the inverter for proper airflow. Most inverters come with specific clearance recommendations, so check the manufacturer's instructions before making a final decision on the installation site.
3. Safety Precautions
Safety should always be a top priority during the installation process. Before you begin, ensure that the power is turned off at the main electrical panel to avoid electrical shocks. Wear rubber-soled shoes and work gloves to minimize the risk of injury. It's also essential to follow all local electrical codes and regulations, and if you're unsure about any step of the process, consult a licensed electrician.
Required Tools and Materials
For the installation of a pure sine wave inverter, you'll need a variety of tools and materials. Here's a list of what you should have on hand before you start:
Screwdrivers (flathead and Phillips)
Wrenches and pliers
Power drill (for mounting the inverter)
Electrical cables (for connecting the inverter to solar panels and batteries)
DC and AC circuit breakers (for safety)
Battery terminals and fuses
Voltage tester
Grounding rod or wire
Having these materials ready will help you avoid delays during the installation process.
Step-by-Step Installation Process
Mounting the Inverter
The first step in installing your pure sine wave inverter is securely mounting it in the selected location. Use a power drill to make holes in the wall if necessary, and ensure the mounting hardware is strong enough to hold the weight of the inverter. Be mindful of the inverter's orientation-some models may require specific positioning to function optimally. Most inverters are designed to be mounted vertically or horizontally, but check the user manual for any specific mounting instructions.
Make sure that the inverter is mounted at an appropriate height, ideally eye-level, so that it is easily accessible for maintenance and monitoring.
Wiring the Inverter
Once the inverter is securely mounted, the next step is connecting it to the power sources. Begin by wiring the DC input from the solar panels to the inverter. If you have a battery storage system, connect the DC battery terminals to the inverter as well. Use properly sized cables that can handle the current without overheating, and ensure that each connection is tight and secure.
Next, connect the inverter's AC output to the electrical system in your home. This involves connecting the inverter to your circuit breaker panel. Depending on the inverter, you may need to install a separate breaker to protect the inverter and your electrical system from overload.
Connecting to Battery Storage
If your solar system is designed to operate with battery storage, you'll need to connect the inverter to the battery bank. Ensure that the battery's voltage matches the inverter's voltage requirements (for example, 12V, 24V, or 48V systems). Use appropriately sized cables and make sure to securely attach the positive and negative battery terminals to the inverter.
It's crucial to follow the manufacturer's guidelines for battery type and connections. Using incompatible battery types or improperly installed connections can lead to poor performance or even dangerous conditions.
Grounding the Inverter
Proper grounding is vital to ensure the safety of the inverter and prevent electrical shocks. The inverter should be grounded according to the manufacturer's instructions, typically using a copper grounding rod or wire. This provides a safe path for any stray electricity to flow to the ground, reducing the risk of electrocution and damage to the inverter.
Finalizing Electrical Connections
Before you power on the inverter, double-check all electrical connections for accuracy and safety. Verify that the DC input and AC output are correctly wired and that the inverter is properly grounded. Use a voltage tester to ensure that there is no electrical current present before proceeding.
Once everything is checked, you can turn on the circuit breakers and power up the inverter. Monitor the inverter's display to ensure it's working correctly and that it is producing the correct output.
Post-Installation Checklist
After completing the installation, it's essential to perform several checks to confirm that the inverter is operating correctly:
Check the Inverter Display: Ensure the inverter's display shows normal operational data, including input and output voltage and system status.
Test Appliances: Plug in a few small appliances to test if they function properly with the inverter's output.
Monitor System Performance: Over the next few days, monitor the inverter and the entire solar power system for any irregularities or performance issues.
Troubleshooting Common Installation Issues
Even with careful installation, you may encounter common issues that require troubleshooting:
Inverter Does Not Turn On: Check if all connections are secure and that the inverter is properly grounded. Ensure that the battery voltage is sufficient to power the inverter.
Inverter is Overheating: Ensure that the inverter is placed in a well-ventilated area and is not overloaded.
Power Output Issues: Double-check the DC input from the solar panels and make sure it matches the inverter's voltage requirements.
Maintenance and Care After Installation
Once your inverter is successfully installed, regular maintenance will help ensure it continues to operate efficiently. Check the inverter periodically for dust buildup or any loose connections. It's also essential to monitor the inverter's performance through its display or monitoring system to catch any issues early.
Additionally, clean the inverter's exterior and ensure that the cooling system is working effectively to avoid overheating.
Proper installation of a pure sine wave inverter is crucial for ensuring the safe and efficient operation of your solar power system. By following the steps outlined in this guide, you can confidently install your inverter and optimize the performance of your renewable energy system. If you are unsure about any step, it's always a good idea to consult with a licensed electrician to ensure a safe and reliable setup.